General Usage
Creating a Java Project
Double click on the IntelliJ icon to launch it.
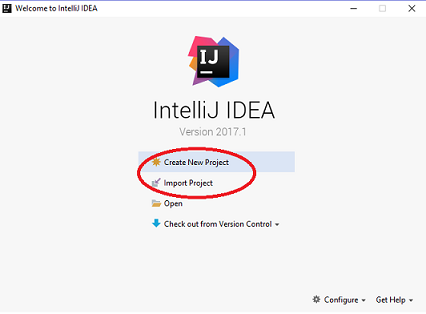
Click ‘Create New Project’
If you haven’t already downloaded the JDK, jump to Setup - Downloading the JDK. Otherwise, in the New Project window, click the new button to specify the location of the JDK which you downloaded earlier. If already specified, jump to step 5.
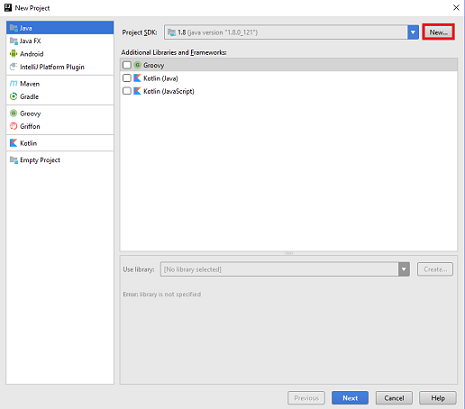
Locate your JDK installation, it should be location in C:/ProgramFiles/Java/JDK1.8

Check the ‘Create project from template’ box and select ‘Command Line App’
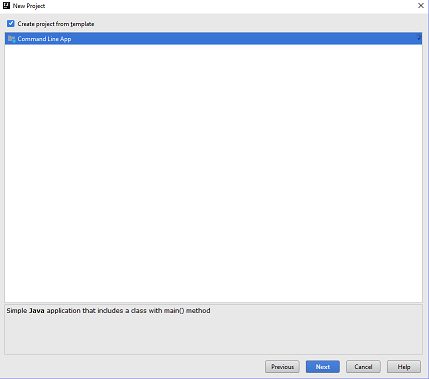
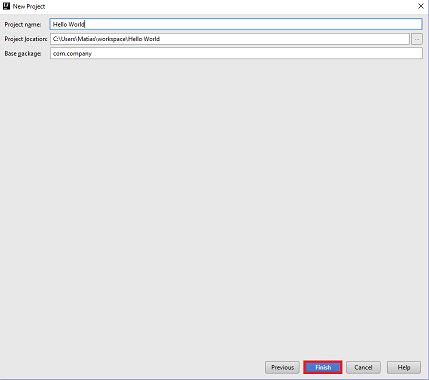
Click next and provide a name for your new project.
Running a Java Project
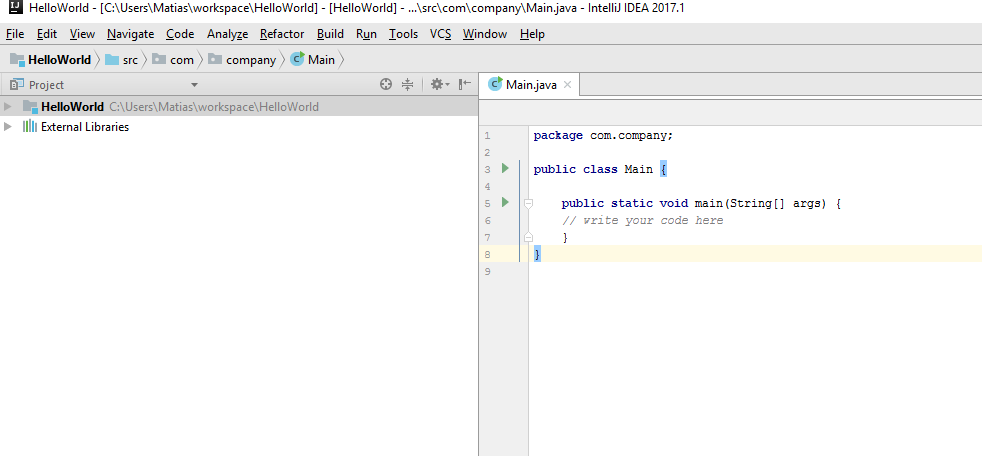
Once you have created your project your IntelliJ window should look like this.
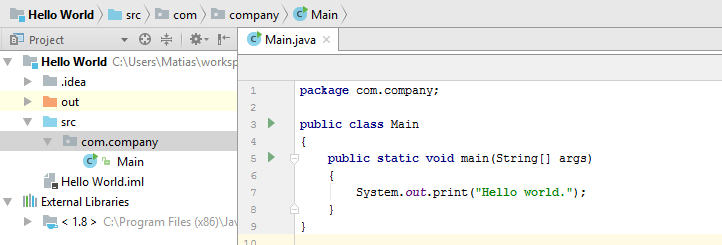
Copy the following example code from https://pastebin.com/raw/F026AY39 and paste it into IntelliJ for the following steps.
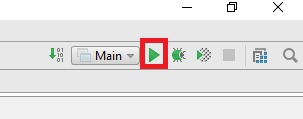
To Run the project, simply click on the green play button at the upper right hand corner of the screen.
If your program was run successfully it should look like this.
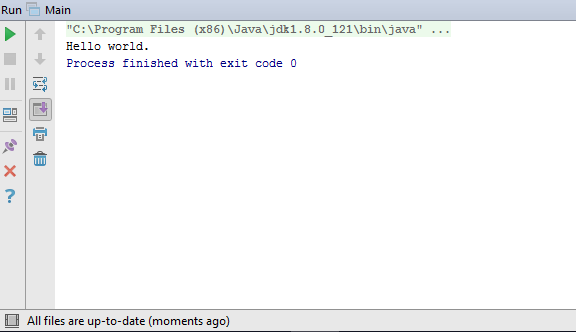
Congratulations, you have successfully completed your first java project in IntelliJ. You have taken the first few steps in the road to becoming an IntelliJ master.